We had another fun outing with some friends this week. We went to make batik! From wikipdia . . . batik "is a technique of wax-resist dyeing
applied to whole cloth, or cloth made using this technique. Batik is
made either by drawing dots and lines of the resist with a spouted tool
called a canting (Javanese pronunciation: [ʈ͡ʂantiŋ], also spelled tjanting), or by printing the resist with a copper stamp called a cap (Javanese pronunciation: [ʈ͡ʂap],
also spelled tjap). The applied wax resists dyes and therefore allows
the artisan to colour selectively by soaking the cloth in one colour,
removing the wax with boiling water, and repeating if multiple colours
are desired."
So, we went to a store that makes batik and lets us ordinary people make it, too.
We started off by picking out some stamps. We could have hand drawn the designs, but we chose the stamps.

The guys did the outline for the kids.

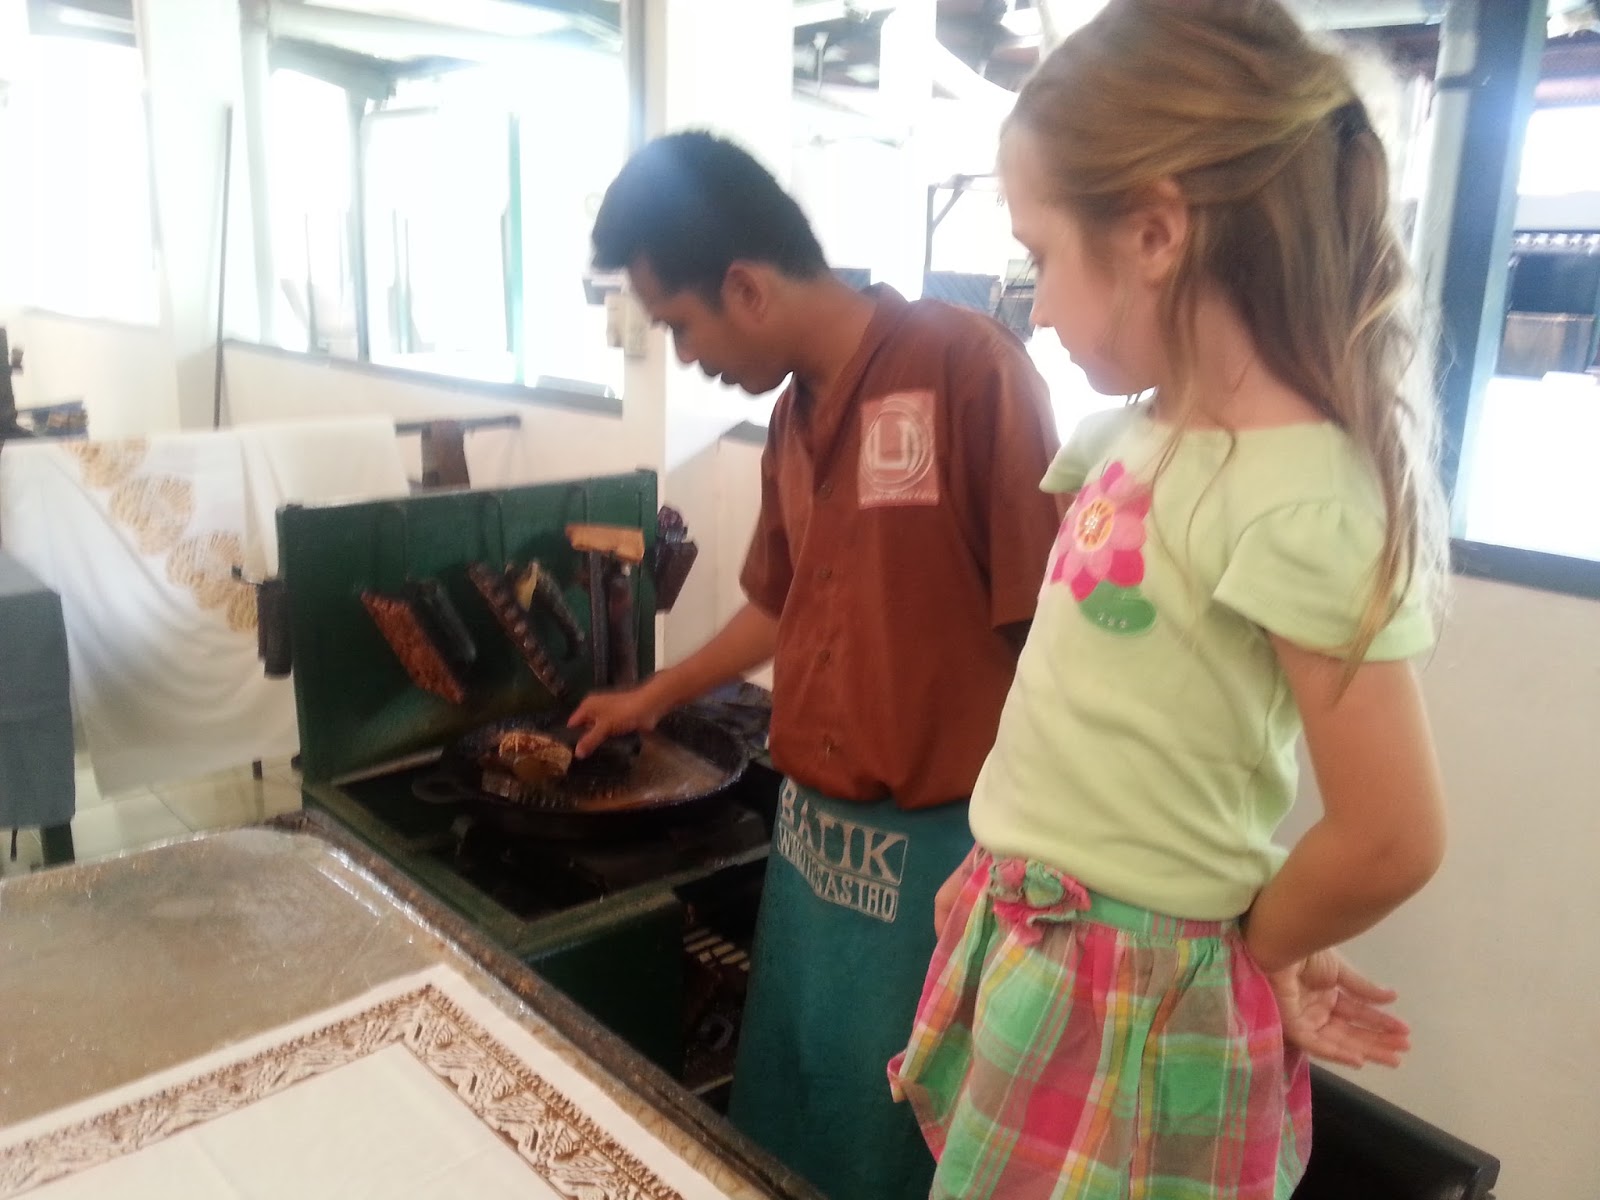
But they let the kids do their own center designs. Now, by "let," I mean that the workers dipped it in the hot wax, put it on the cloth, but let the kids press it down. Then the workers redid it. Not much work from the kids, but they enjoyed picking out their stamps and watching.


I'm not exactly sure what happened in the next few steps. This lady put the cloth in several different buckets and it came out a different color each time. It went through orange, brown, and blue before it was finally finished.
So interesting!


The cloth then got dipped in some boiling water to get all the wax off.


We handed it off to another lady to iron (in order to dry it). Somehow I lost the picture of the lady sewing up the edges for us. She used an old timey sewing machine. I'm not even sure it was electric.

Finished results.


Oh my goodness. I am sooooo jealous and want to do this when I come back over there. How absolutely cool! They look amazing kids!
ReplyDeleteThanks, Nana!
ReplyDelete